The first time, figuring out how to calibrate your Futura Auto key cutting machine can be intimidating. However, the program is designed for user-friendliness. You can quickly calibrate your device, and over time, this may even become a ten-minute procedure for you.
Finding the Calibration Menu
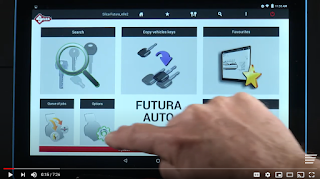
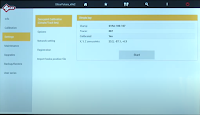
On the home page of your Futura Auto key cutting machine, tap settings and then tap zero-point calibration. Be aware that this will erase all previous calibrations, which means you will need to complete the full process before resuming work with your Futura Auto key cutting machine.
The calibration process links to the relevant manual section
for each step. You should be able to follow the screen prompts rather than
needing to refer to it. Upon completion of each step, a checkbox will appear by
that clamp or tracer.
Zero Point Calibration
The first calibration on your Futura Auto key cutting machine is the 01RA clamp, so install that one with the jaw closed. Load the 06T tracer and then ensure the device is free of shavings. Then, close the hood, confirm you want to begin calibration, and wait for the machine to complete the process. Tap yes, and the data will save.
The 01RA
Tap into the calibration menu in your setting menu. Then
select dimple track keys and 01RA, since you needed that clamp installed for
the zero-point calibration. The device will have you confirm you want to
calibrate and that the proper parts are installed before you can begin the
calibration. After the operation, click yes, and then you will see a checkbox
on your settings menu.
The Mobile Tracer
The calibration on your Futura Auto key cutting machine for
the mobile tracer uses the same clamp as the last calibration. Tap mobile
tracer in your Futura Auto key cutting machine calibration menu. Make sure to
lower the tracer, and then confirm the various menus until calibration starts.
Click save after the operation is complete and observe the checkbox.
The 01VA
For this process, select clamps/standard keys from the
calibration menu. You will need to change the clamp to the 01VA on the A-side.
Then you will install a Z3 template using the shoulder stop. Make sure the
shield is down before continuing into the calibration. Make sure you hit save
once this is complete so that the checkbox is marked.
Additional Clamps
You will use 06T for all calibrations on all
clamps. Simply find the clamp you want to calibrate on the menu to begin
the process. However, it is essential to uninstall the 06T upon completion.
Otherwise, you may break the tip by cutting a key and need to buy a
replacement.
Futura Auto Key Cutting Machine Calibration Timing
Futura Auto recommends you calibrate your machine at least
once a month. However, moving the machine or using it in a mobile locksmithing
setting may result in additional calibration requirements.


